- 678-539-8662
- info@flooringinstallationconyersga.com
- Mon - Fri: 9:00 - 6:00 | Sat: 9:00 - 4:00 | Sun: Closed

Over A Decade of Excellence
Tile installation in Conyers GA provides homeowners throughout the Atlanta metro area and Georgia with durable, professionally installed tile floors.
Our Professional Process
We follow a systematic approach starting from an in-depth assessment to careful planning and flawless execution. Our process is designed to address every detail, ensuring that your tile installation not only meets but exceeds your expectations.
Step 1
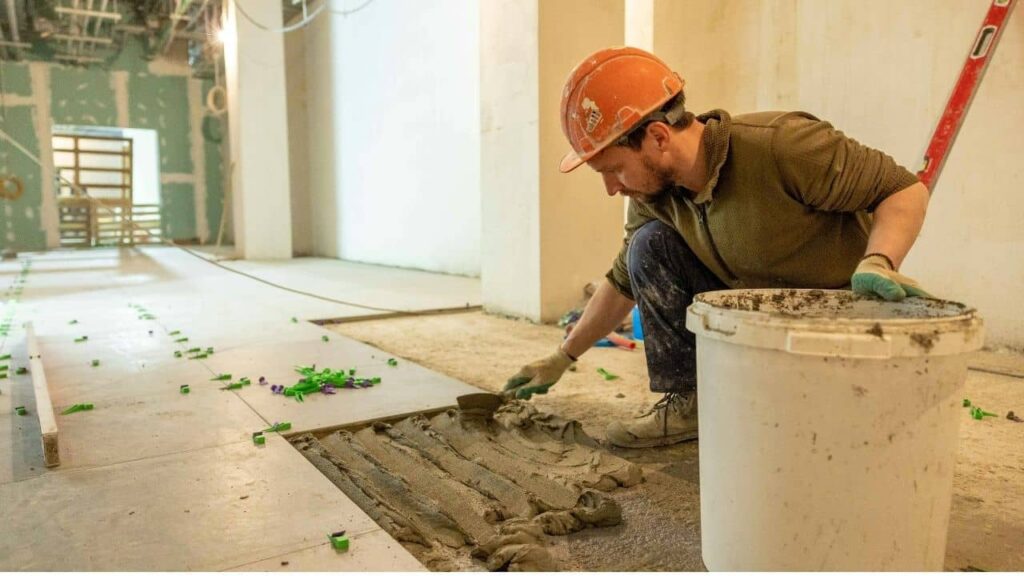
Our specialists begin by thoroughly preparing the installation site. This includes cleaning, repairing damaged surfaces, and ensuring a level base so that every tile adheres perfectly for a durable finish.
Step 2
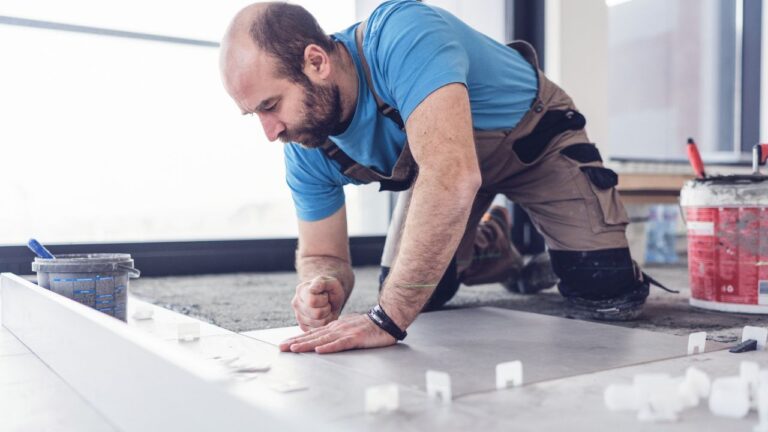
With careful measurements and layout planning, we place each tile with meticulous precision. This step is crucial in achieving a harmonious design that elevates the overall aesthetic of your space.
Step 3
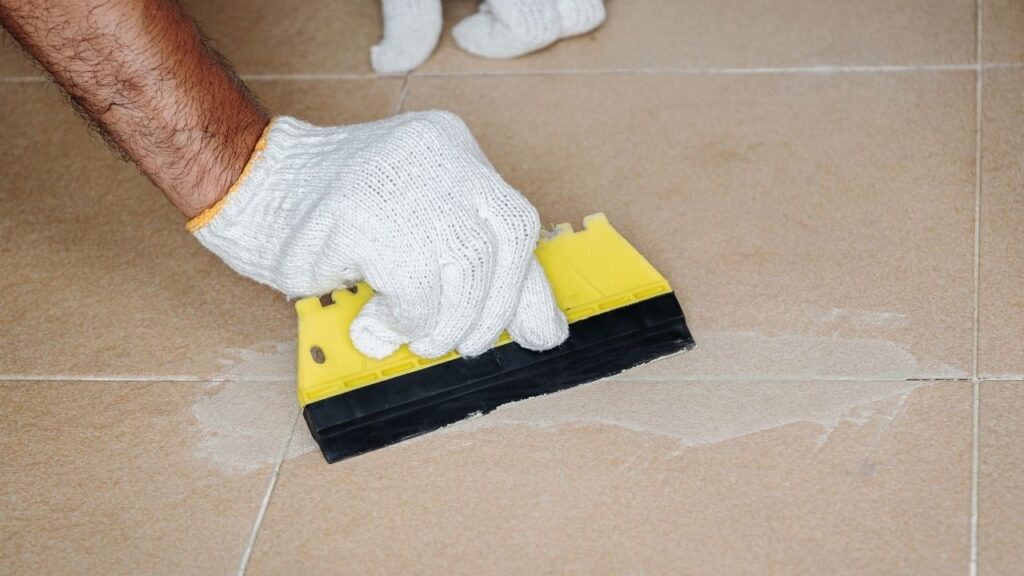
After the tiles are set, we complete the installation with expert grouting and sealing. This final phase not only enhances visual appeal but also protects your flooring from moisture and wear.

Our Comprehensive Services
We provide expert tile installations for both residential and commercial properties, tailoring our services to meet the unique design and durability needs of each project. Our seasoned team ensures that every detail reflects quality and precision.
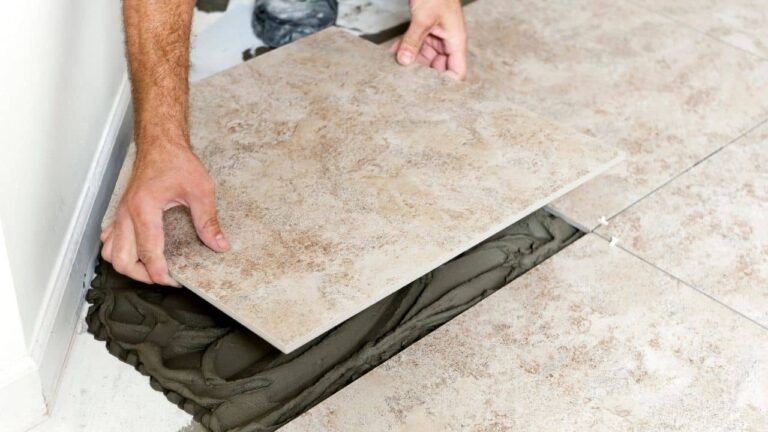
Our commitment to outstanding craftsmanship is apparent from the initial consultation to the final installation. We work closely with clients to choose the best materials and design options, ensuring that the finished product is both functional and visually stunning. With advanced techniques and a passion for innovation, we transform spaces into elegant environments that stand up to everyday challenges.
Every project is managed with the utmost care, from detailed planning and material selection to meticulous installation. Our dedication to customer satisfaction and continuous improvement sets us apart in the competitive Atlanta market.
Tile installation is ideal for wet areas. For bedrooms, living rooms, and other spaces, we connect you with contractors who specialize in:
The Importance of Quality Tiling
Tile installations offer numerous benefits, including enhanced durability, elevated aesthetics, and increased property value. These installations are perfect for busy households, commercial spaces, and areas prone to moisture, ensuring both longevity and style.
High-grade tiles are engineered to repel moisture effectively. This quality makes them an ideal choice for kitchens, bathrooms, and commercial settings where exposure to water is a concern.
We offer a broad spectrum of tile designs, colors, and textures. Whether you prefer a modern, sleek look or a classic style, our diverse selection allows you to create a space that fits your personal taste and functional needs.
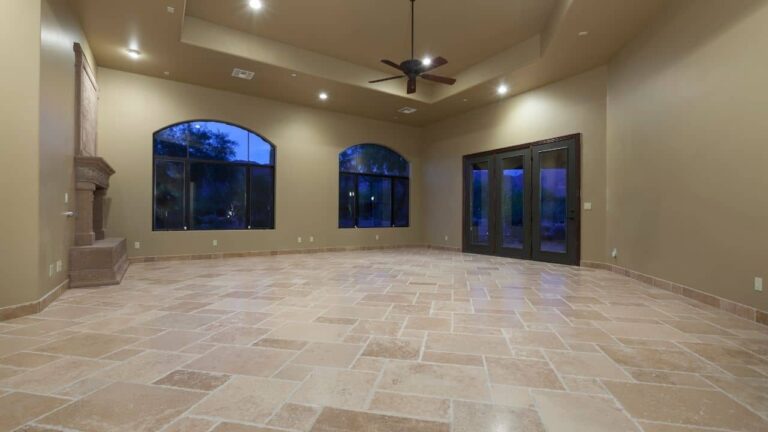
Our installations are crafted to withstand the tests of time. With superior materials and expert techniques, your floors remain resilient against daily wear, ensuring a lasting, high-quality finish.
One of the key advantages of tiles is their ease of maintenance. Their smooth surface and high resistance to stains and moisture make cleaning a straightforward task, saving you time and effort.
Why Our Team Stands Out
Clients across Atlanta consistently choose us for our transparent process, impeccable quality, and dedication to exceptional service. Our reputation is built on a commitment to exceeding customer expectations at every project stage.
For many years, we have refined our craft to ensure every installation is a work of art. Our ongoing investment in training and technology allows us to remain at the forefront of the tiling industry.
We pride ourselves on delivering quality work on every project. Our attention to detail and strict quality control measures guarantee that each installation is executed to perfection.
Time is important, and our streamlined operations ensure that tile installations are completed within the promised timeframe, without sacrificing the quality that our clients have come to expect.
Any Questions for Us?
We understand the importance of clarity when undertaking a tile installation project. Here are answers to some frequently asked questions that may help you better understand our services and processes.
We connect you with contractors specializing in all tile types:
Ceramic Tile:
Porcelain Tile:
Natural Stone Tile:
Glass Tile:
Large Format Tile:
Contractors source premium brands from well-known local suppliers throughout the Atlanta metro area.
Tile installation cost in Conyers and the Atlanta metro varies by material and complexity:
Standard Tile Installation:
Price includes: ✓ Tile materials and grout ✓ Thinset mortar application ✓ Professional installation with laser levels ✓ Grout application and sealing ✓ Cleanup and disposal
Additional costs:
Average project costs:
Request 3 free estimates for accurate pricing based on your tile selection, room size, and subfloor condition.
Most residential tile installation projects complete in 3-7 days depending on size and complexity:
Day 1-2: Preparation
Day 3-4: Tile Installation
Day 5: Grouting
Day 6-7: Sealing and Finishing
Timeline by project:
Contractors provide specific timelines during free in-home estimates.
Yes. All contractors in our network maintain:
Required Licenses:
Insurance Coverage:
Professional Certifications:
We verify current insurance certificates, license status, and background checks before approving contractors. You receive copies of all documentation before work begins.
Most contractors include removal and disposal of existing tile as part of their quote:
What’s included in removal:
Typical removal cost: $3-5 per square foot
Subfloor issues discovered after removal:
These repairs are quoted separately based on extent of damage.
For second-story installations: Contractors protect stairways and floors during debris removal to prevent damage.
For bathrooms, showers, and kitchens, choose tiles with specific moisture ratings:
Best tile options:
Porcelain Tile (Top Choice)
Glazed Ceramic Tile
Natural Stone (Requires Sealing)
Critical waterproofing requirements: membrane behind all shower tile ✓ Cement backerboard (not drywall) in wet areas ✓ Sloped shower pan with proper drainage ✓ Sealed grout joints with epoxy or urethane grout
Contractors follow waterproofing standards to prevent leaks and mold growth.
Large format tiles (12×24 inches and larger) require specialized installation to prevent lippage (uneven tile edges):
Professional leveling techniques:
Laser Levels
Tile Leveling Systems
Back-Buttering
Proper Thinset
Subfloor Preparation
Professional installers achieve lippage under 1/16 inch following ANSI A108 standards.
Grout selection impacts appearance, maintenance, and longevity:
Sanded Grout
Unsanded Grout
Epoxy Grout (Premium)
Urethane Grout
Joint width recommendations:
Contractors apply grout sealer 48-72 hours after installation for porous grout types.
Georgia’s humid climate requires specific tile maintenance:
Daily/Weekly Cleaning:
Monthly Maintenance:
Georgia-specific concerns:
High Humidity (70-80% in summer)
Red Clay Dirt
Hard Water
Recommended products:
Professional deep cleaning and resealing every 2-3 years maintains appearance and protection.
Tile installations include separate labor and material warranties:
Labor Warranty (from installer):
Tile Material Warranty (from manufacturer):
Waterproofing Warranty:
Grout/Sealant Warranty:
What voids warranties:
Keep all receipts, product labels, and installation documentation for warranty claims.
Tile can sometimes be installed over existing flooring with proper preparation:
Over Vinyl/Linoleum: ✓ Yes, if firmly adhered and smooth ✓ Roughen surface for thinset adhesion ✓ Test for asbestos if installed before 1980 ✗ No, if cushioned or textured vinyl
Over Ceramic Tile: ✓ Yes, if tiles are firmly attached ✓ Grind down high spots and rough surface ✓ Adds weight and floor height ✗ No, if existing tiles are loose or cracked
Over Concrete: ✓ Yes, ideal substrate for tile ✓ Must be level within 1/8 inch over 10 feet ✓ Requires moisture testing (under 5 lbs/1,000 sq ft) ✓ May need self-leveling compound
Over Wood Subfloor: ✓ Yes, with cement backerboard layer ✓ Plywood must be 1-1/8 inch thick minimum ✓ Install backerboard with thinset and screws ✗ No, directly over wood (will crack)
Over Laminate: ✗ No, floating floor moves causing tile cracks ✗ Remove completely before tile installation
Best practice: Most professional installers recommend removing old flooring to:
Old flooring removal adds $3-5/sq ft but prevents future problems.
Tile cracking has several causes, all preventable with proper installation:
Common causes and prevention:
1. Subfloor Movement
2. Improper Thinset Coverage
3. Wrong Thinset Type
4. Insufficient Expansion Joints
5. Concrete Cracks Telegraph Through
6. Grout Used Instead of Caulk
7. Structural Issues
8. Impact Damage
Professional installation prevents 95% of tile cracks by following TCNA Handbook installation methods including proper substrate preparation, correct thinset application, adequate expansion joints, and using crack isolation membranes where appropriate.